

At the end of this chapter, you will be able to:
- understand when to use nasopharyngeal suctioning
- demonstrate how to perform nasopharyngeal suctioning
Nasopharyngeal (through the nose) suctioning is done to clear secretions (mucus) from the throat if a child is unable to cough them up or swallow them. A suction catheter is used to suction secretions.

The illustration on the right shows how to correctly measure the length you will need for nasopharyngeal suctioning. Measure the catheter from the tip of the nose to the tip of the earlobe. The depth and size of catheter to use will be prescribed and taught to you by your child’s health-care team.
-

Gather your equipment and supplies.
-

Make sure the oximeter is on and providing an accurate reading.
Have oxygen available (if prescribed for your child).
-

Make sure the suction machine is at the correct setting.
-

Wash your hands well. Parents and caregivers do not need to wear gloves, although you may choose to do so if you have them. If you have a home nurse visiting, they will bring their own gloves and wear them.
-
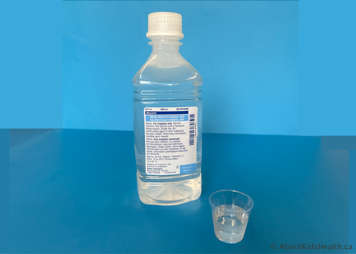
Fill a clean container with sterile water or saline.
-

Make sure your child is in a comfortable position (lying or sitting).
-

Attach the suction tubing to the correct size suction catheter. Keep the catheter in the packaging until just before use.
-

Do not touch the end of the catheter that will go further back into the back of your child’s nose.
-

Apply lubricant along the sides of the suction catheter with water-soluble lubricant. Avoid using lubricant at the tip of the suction catheter as it can become blocked if too much lubricant is used.
-

If you have not yet measured the suctioning distance, do it once the catheter is out of the packaging, just before you insert the catheter into the nose to suction. The catheter should be measured from the nostril to the earlobe, as pictured here.
Before you suction, use a tissue or cotton tipped applicator to clean away visible crusty secretions. This will avoid pushing them back into the nose. You can consider using saline in the nose to loosen dried secretions.
-

Insert the suction catheter into your child’s nostril to the length instructed by your child’s health-care team. The catheter should be aimed backwards and not upwards. Even though the nose looks like it goes up, aim straight back along the bottom of the nose (see picture to the right). Be careful not to force the catheter. If you meet resistance, try the other nostril. Keep your thumb off the suction control port.
-

Apply suction by holding your thumb over the suction control port. Slowly remove the catheter. Limit suctioning to 5 to 10 seconds.
-

Repeat suctioning as needed, allowing at least 30 seconds between suctioning. Alternate nostrils each time you repeat the suctioning. Once you are finished, rinse sterile water or saline through the catheter to flush the tubing well. Discard the catheter and water that was poured.
-
After suctioning, assess your child’s respiratory status and oxygen needs.
Turn off the suction unit. Empty and clean the suction drainage bottles and containers, if needed.
Wash hands well.
Prepare the suction equipment and supplies for the next use.


Please suction only to the depth prescribed by your child’s health-care provider. Do not go deeper.
Do not use a catheter size larger than recommended by your child’s health-care provider. Discuss any concerns you may have with them first.


Precautions
Do not perform nasopharyngeal suctioning if:
- your child has had recent nose, sinus or throat surgery
- your child has a bleeding disorder
- there is a partial upper airway obstruction, for example by the epiglottis or swelling around the throat or vocal cords (if your child has an infection such as croup)
| Suction catheter size: | |
| Depth of suction catheter insertion for nasopharyngeal suctioning: | |
| Suction machine pressure setting (mmHg): |